
I don't really have space in this house to begin creating again but will once I return to our home in the states. I found a class on painting on glass (actually it is called staining and it is where the term stain glass comes from), signed up to learn this new skill. I left the kids with the husband and went on my own for a 6 hour class. I so rarely get to do that and boy did I have fun!!
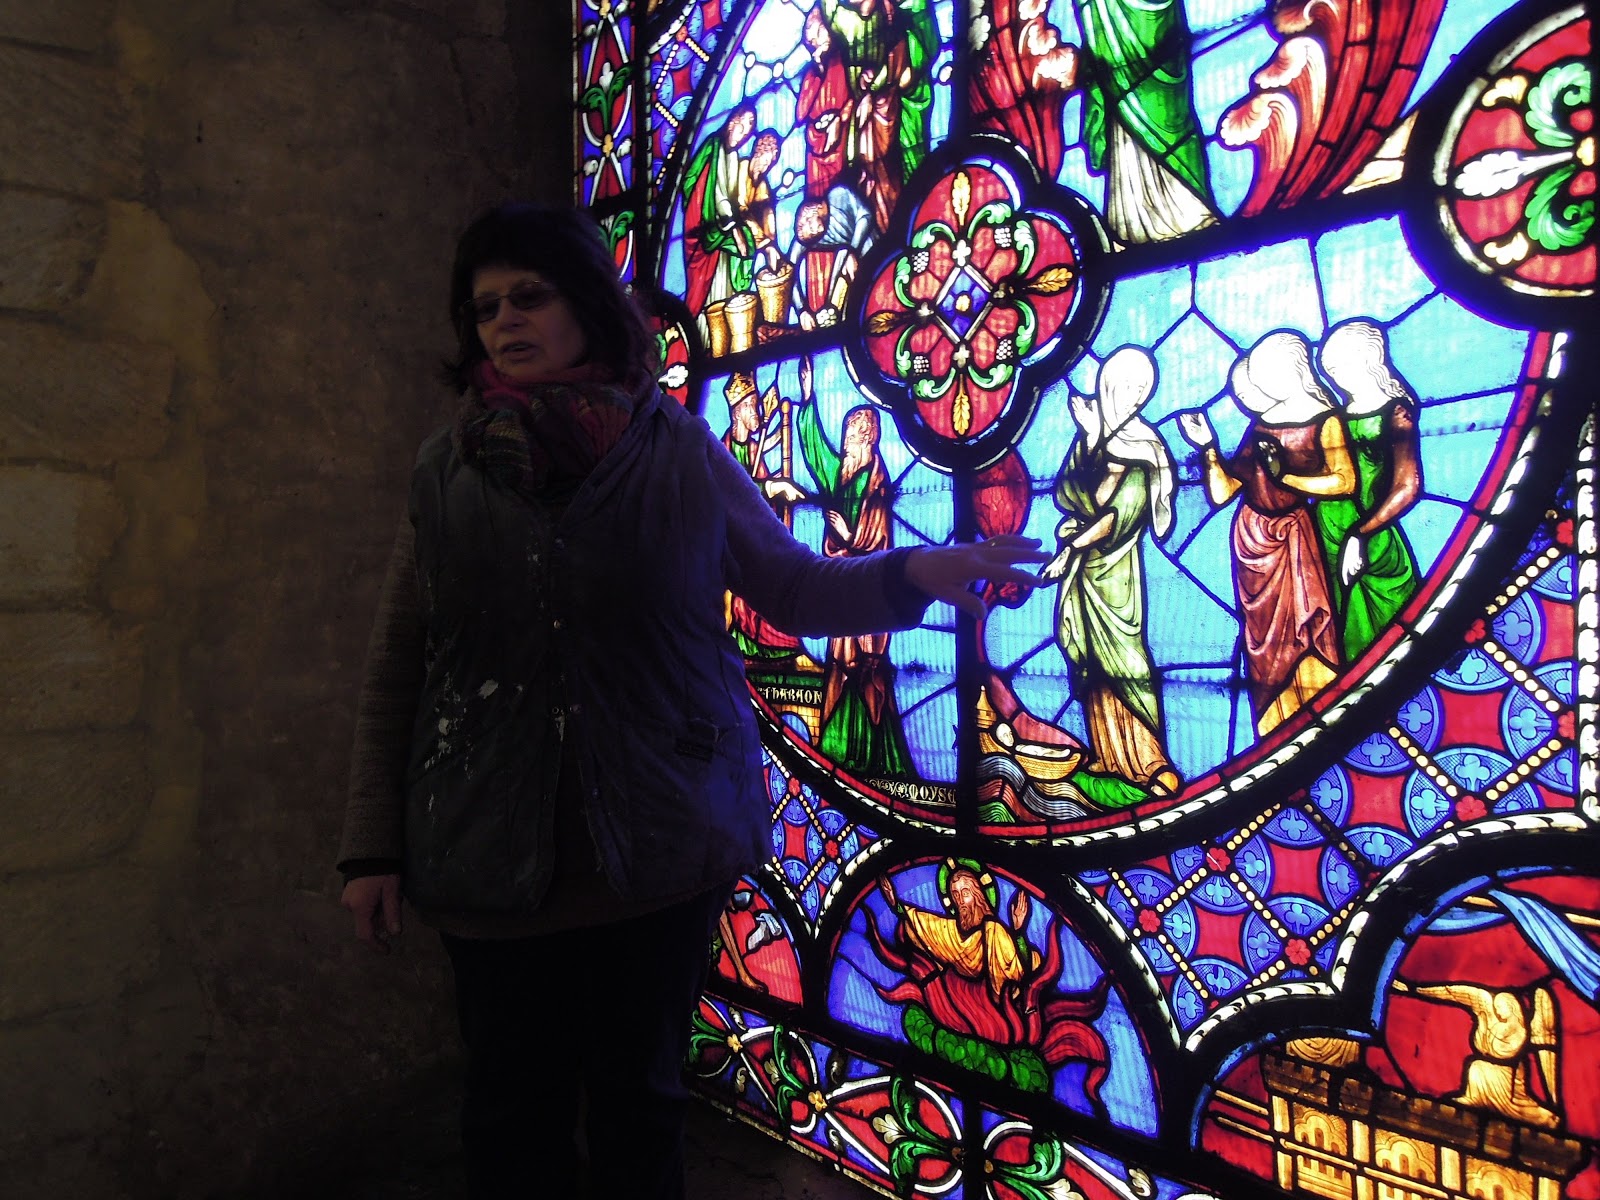 |
| We were first given an introduction to the art of staining glass and shown a beautiful window found in the cathedral where the class was taking place |
 |
| Our work stations included a palette for grind up glass which would act as our outline |
 |
| an wooden arm rest to add in keeping our hands steady when working and to help us not touch the glass with anything except the brush |
 |
| Water and gum of Arabic was added to the brown powder and mixed to make a paste from which to begin painting |
 |
| first we had to learn how to draw and maneuver the brush, and figure out how much paste to put on the brush. It does take a bit of figuring out |
 |
| I picked out a sample pattern, some people who attended were artists and drew their own designs--I choose a simple one as I am not an artist by any means |
 |
| Then we add the clear glass over the pattern and then simply trace the pattern with the paste and a brush |
 |
| Finished outline |
 |
| You can use a pointed wooden dowel to clean up any area where mistakes were made. After this the glass piece goes into a kiln for 15 - 20 minutes to make the paste a permeant part of the glass-- while we waited we all had lunch |
 |
| The net stage is to add texture and coloring...For this class we only worked with one color stain - yellow |
 |
| After adding a thin layer of stain I began to add texture by stippling, removing stain, trying to make patterns with cross hatch. This is where a real artist can shine -- which I am not. |
 |
| Lighter areas will show greater yellow while darker areas will not be as yellow. |
 |
| The yellow stain is added. You can add more stain (by making some areas very thick to get a brighter color). The items are then added to the kiln for a second firing |
THE RESULTS
 |
| Here is one of my pieces |
 |
| And the other of my pieces |
The class was small to allow for individual attention and because of kiln size. Here are some of the other pieces that people completed. I love the eagle and owl pieces:)


These are absolutely beautiful!
ReplyDeleteThis is such a unique hobby. Maybe you will be selling at craft fairs in the future. I'm impressed.
ReplyDeleteBeautiful! I'm looking forward to seeing how you mount them up....
ReplyDeleteYou are so talented! You should definitely keep this up, I agree with Julie, they would sell at a craft fair!!
ReplyDeleteWow that is clever, lovely to see the different stagers coming together (visiting via Hobbies & Handicrafts)
ReplyDeleteThat is awesome! You're really finishing out your stay in the UK with a bang! Is this staining glass something you can do at home?
ReplyDeleteI love stained glass, too, but have never tried it. What a great date. Yours turned out beautifully.
ReplyDeleteI love this post too! I would like to invite you to link up this post to my Money Saving Monday Link Up so others can find this great idea. Please stop by and link up.
ReplyDeleteI hope to see you,
Thank you,
Stephanie
http://lifesallaboutlittleadventures.blogspot.com/2013/04/money-saving-monday-week-3.html
These are awesome! They look a little complex to do but what a great project!
ReplyDelete